How to Paint Garage Floor
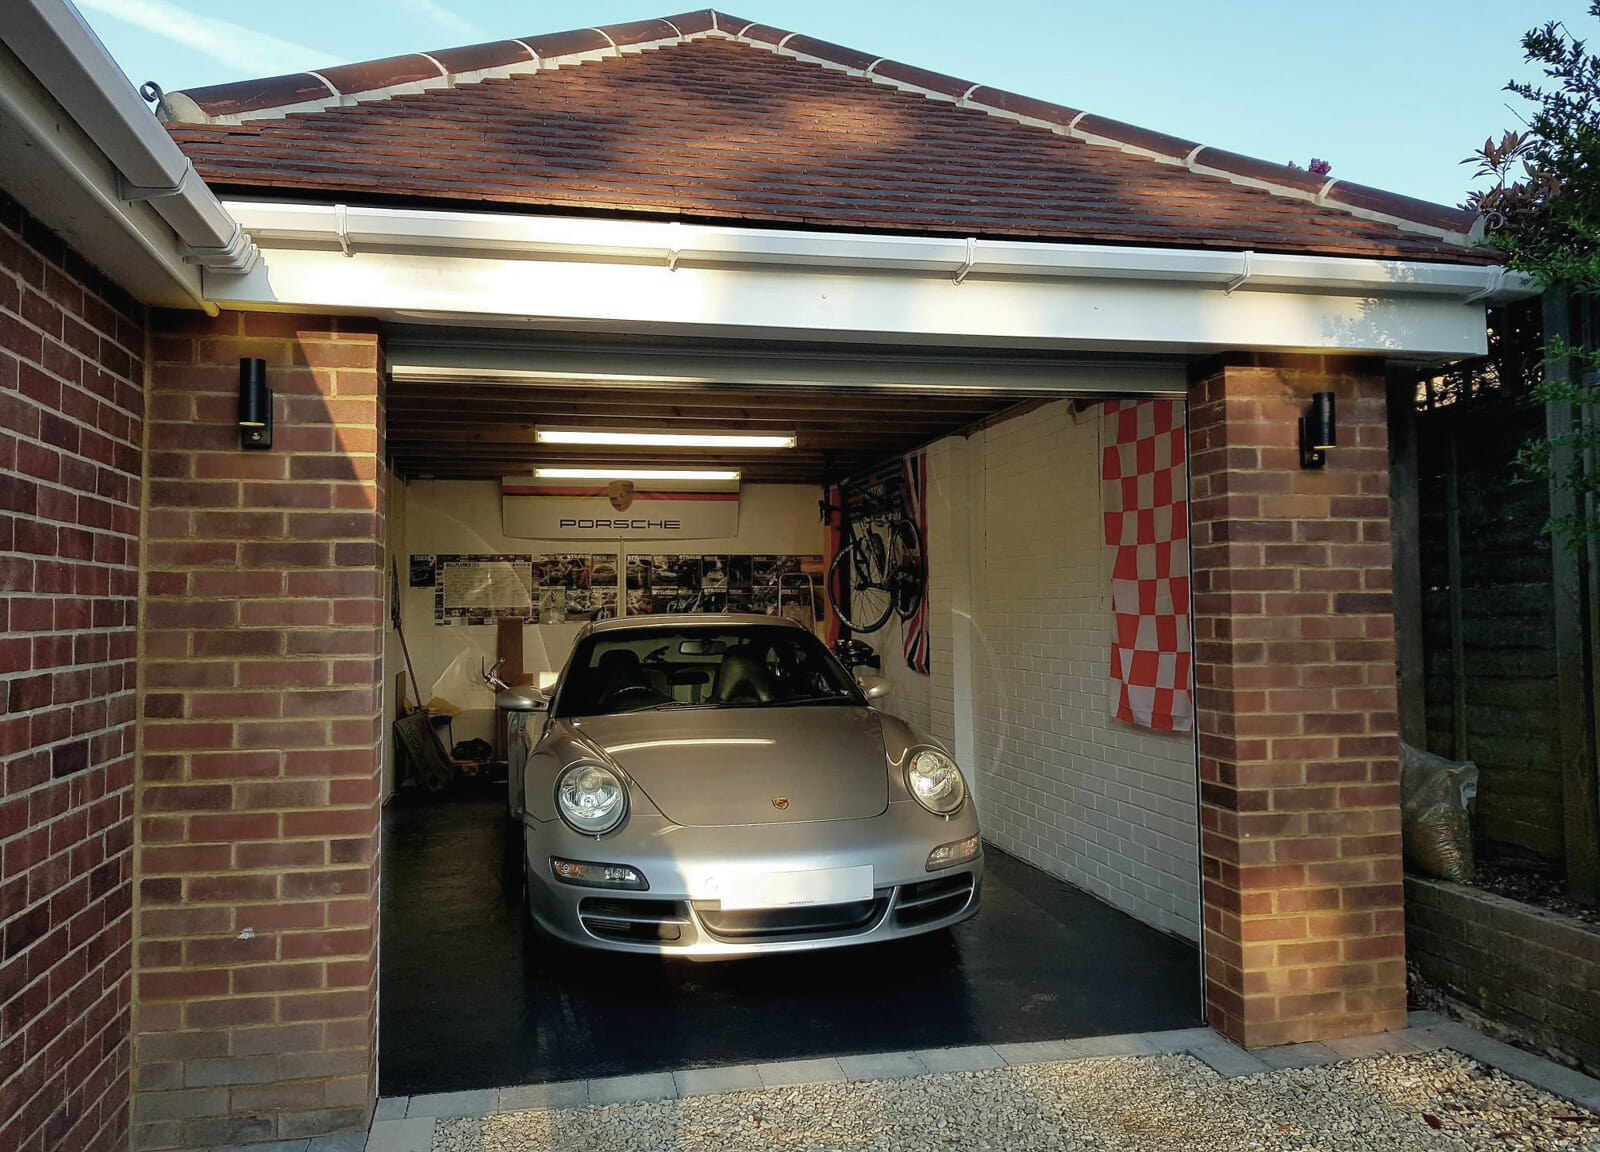
In this case study, we look at the products and stages involved in painting a garage floor, from floor preparation products and techniques through the floor paint selection and the painting stages required to get to the finished job.
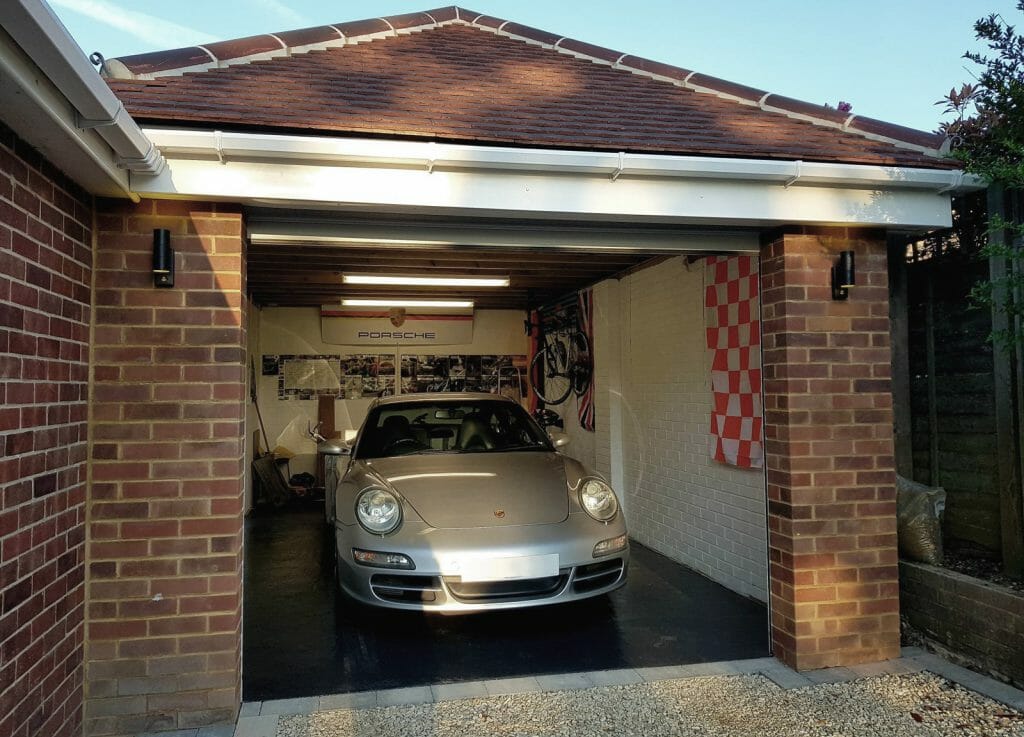
“Hi Matt, I just wanted to say thank you for your help with selecting the correct epoxy paints for my garage floor. My wife and I did the 3 stages and it looks great.”
Products chosen: –
- 5 lts 2pk epoxy floor sealer
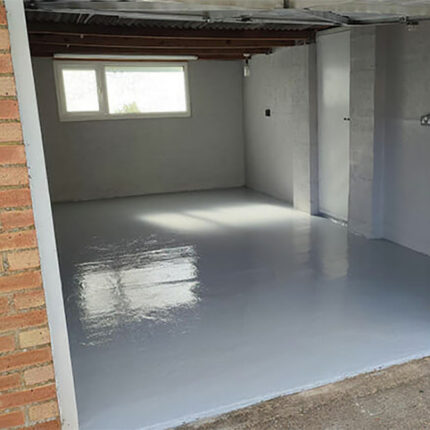
- 5 lts 2pk epoxy floor paint: slate grey
- 5 lts 2pk epoxy clear finish
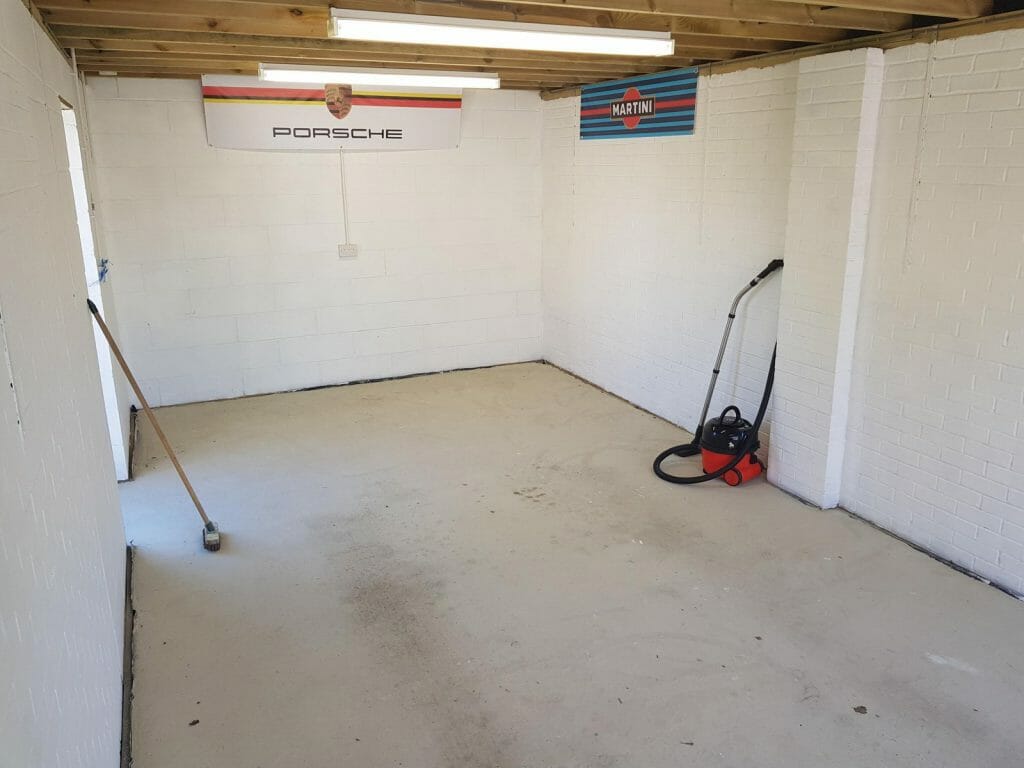
Step 1: Floor Preparation
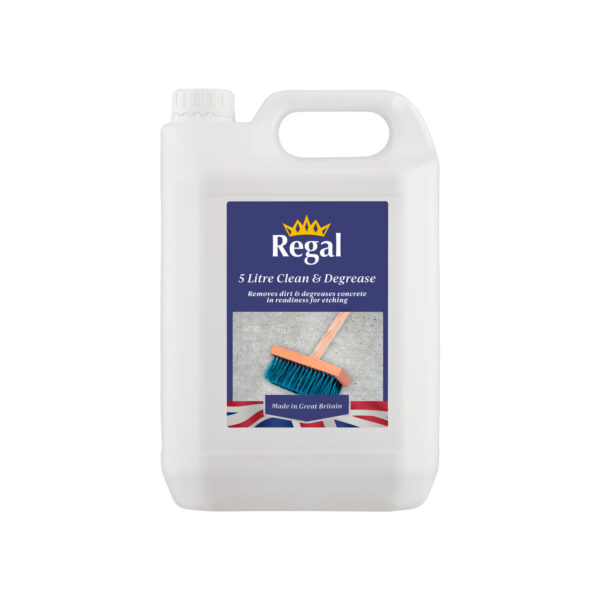
How to paint garage floor – Step 1: The concrete floor was a relatively clean surface and was not power-floated, so did not need a clean and degrease nor clean and etch. The floor just needed a brush and hoover to remove the surface debris and dust. If your garage floor is showing signs of ingrained oils or grease, we recommend that you use Regal Clean and Degrease to prepare the floor prior to painting. If your concrete floor is overly smooth or power-floated, we recommend that you use Regal Clean n Etch to open the pores of the concrete and allow the paint to absorb into the substrate.
Clean and Degrease
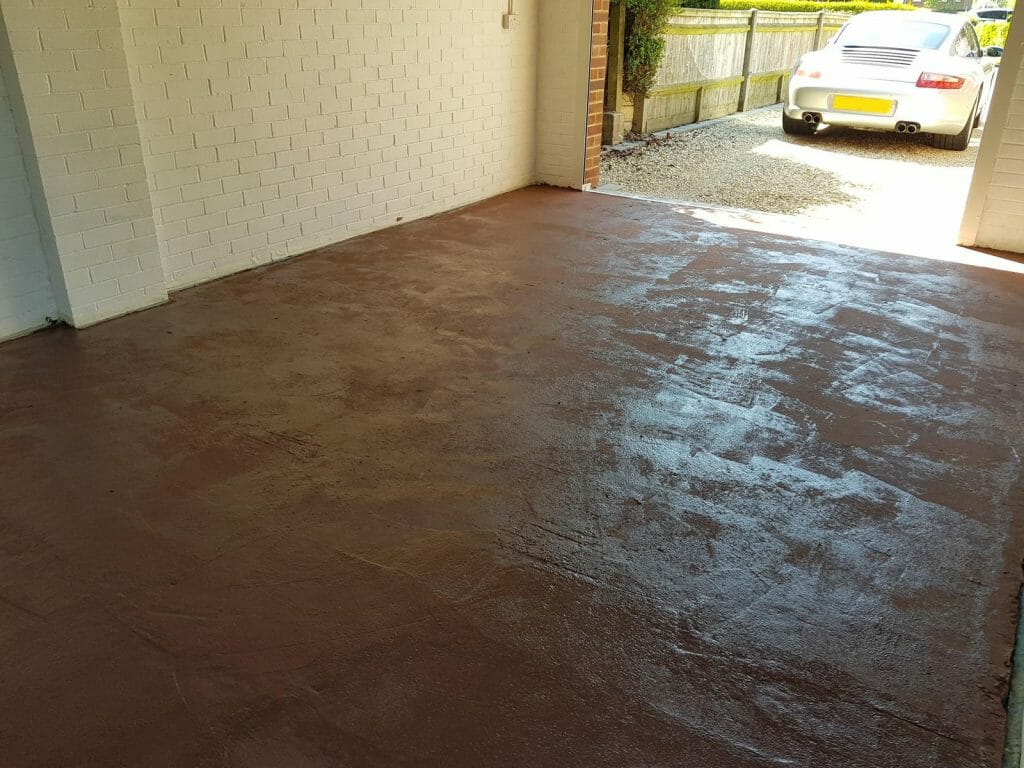
Step 2: Two-pack epoxy primer
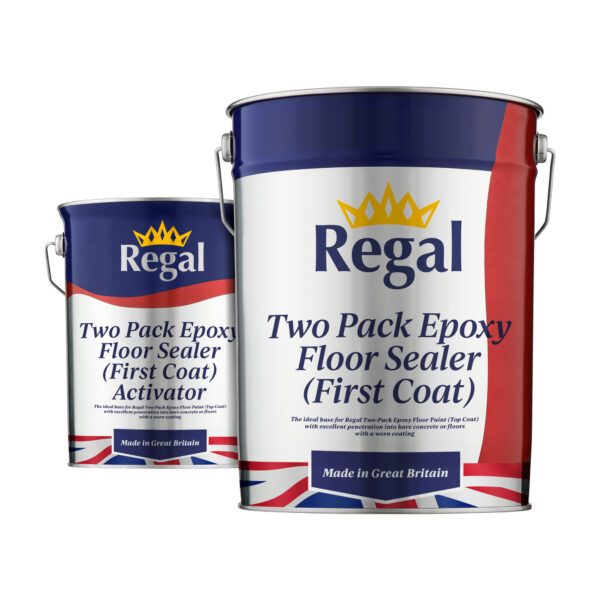
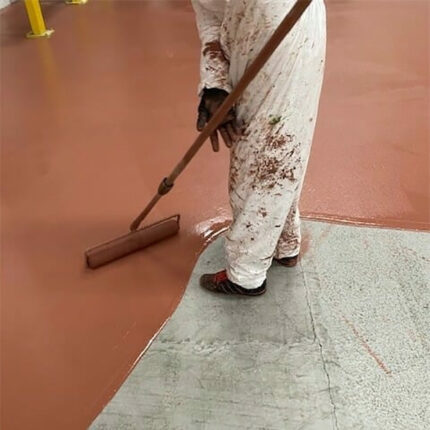
How to paint garage floor – Step 2: The customer used 5 litres of 2 pack epoxy primer – this is usually a red or pinky colour to contrast with the topcoat. Epoxy primer is thinner in viscosity to the topcoat, so that it is able to soak down into the concrete, penetrate the concrete. The base coat is anchored in the concrete, not just sitting on the surface. Epoxy primer dries with a flat (matt) and porous finish – if you could at a cross-section of the dried primer under a microscope, it would look like peaks and trough. This is purposefully designed so that the dried surface-area will readily accept a topcoat, to lock into those peaks and troughs, giving good intercoat adhesion.
Two-Pack Epoxy Floor Sealer (First Coat)
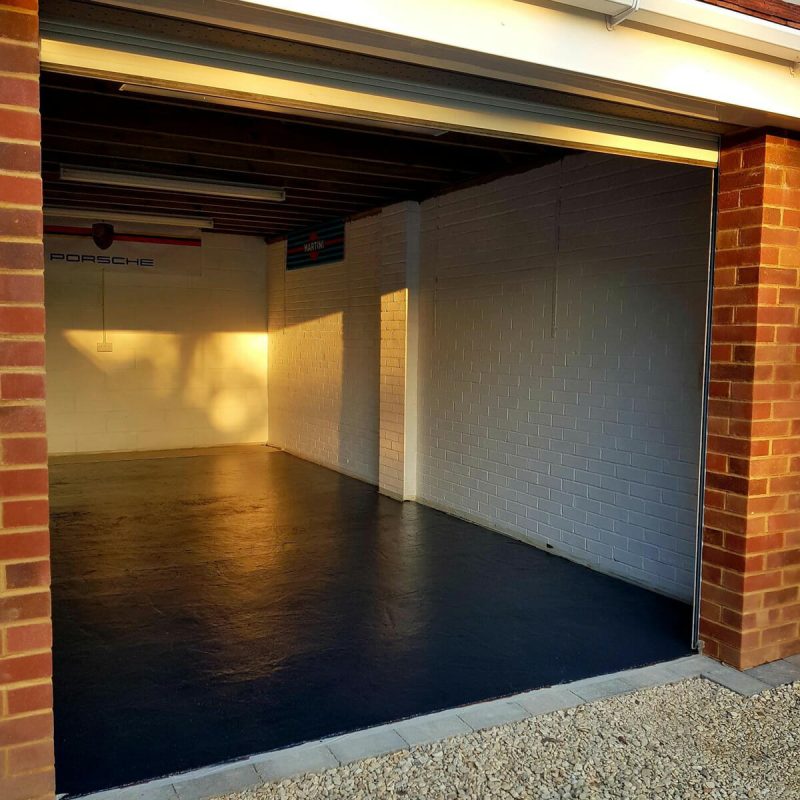
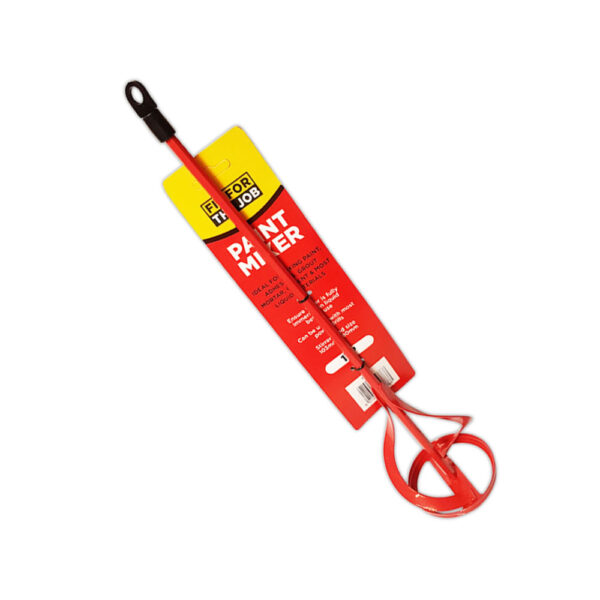
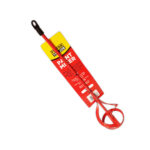
Step 3: Two pack Epoxy Floor Paint (Top Coat), Paint Mixer
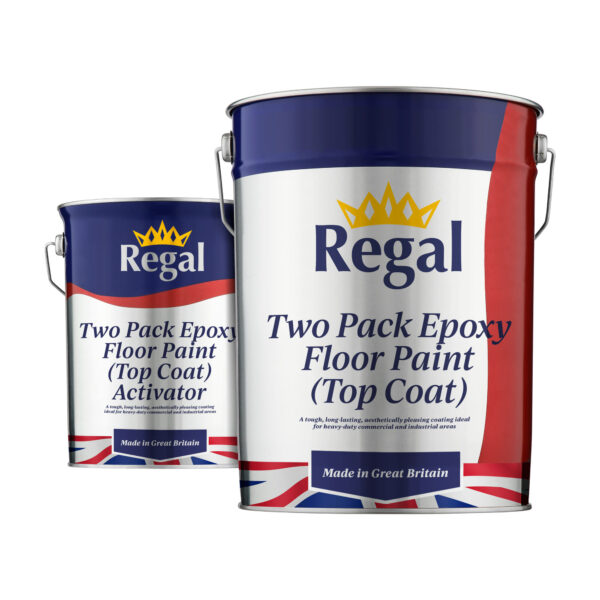
How to paint garage floor – Step 3: The customer used 5 litre of 2 pack epoxy topcoat in slate grey. It is very important that you use an epoxy top coat with an epoxy primer because they are both made on the same resin system (the coats cross-link well, giving good inter-coat adhesion). An epoxy topcoat is an extremely hard-wearing product. It is important to allow epoxy paint to have the recommended induction period (sweating time) after mixing and prior to use.
Two Pack Epoxy Floor Paint (Top Coat)
Paint Mixer Drill Attachment
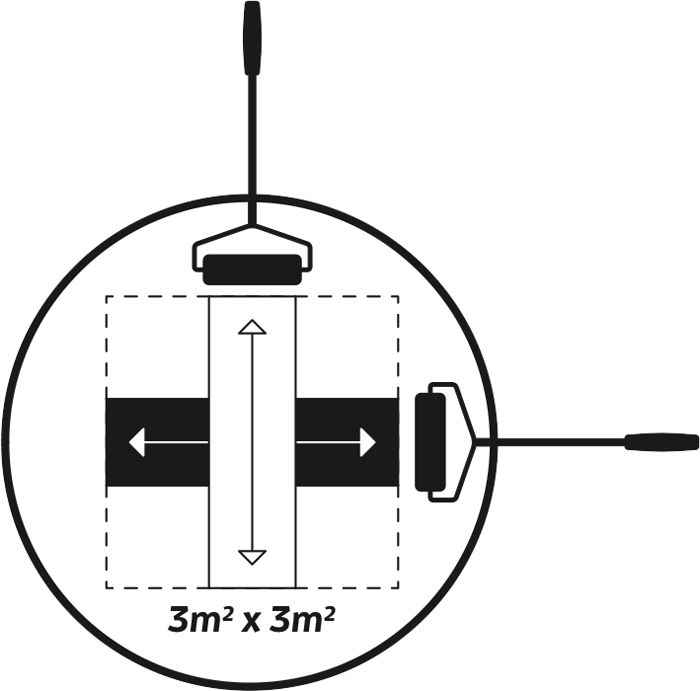
Painting tips on how to Paint Garage Floor
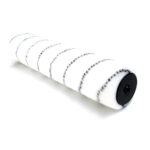
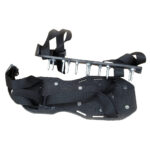
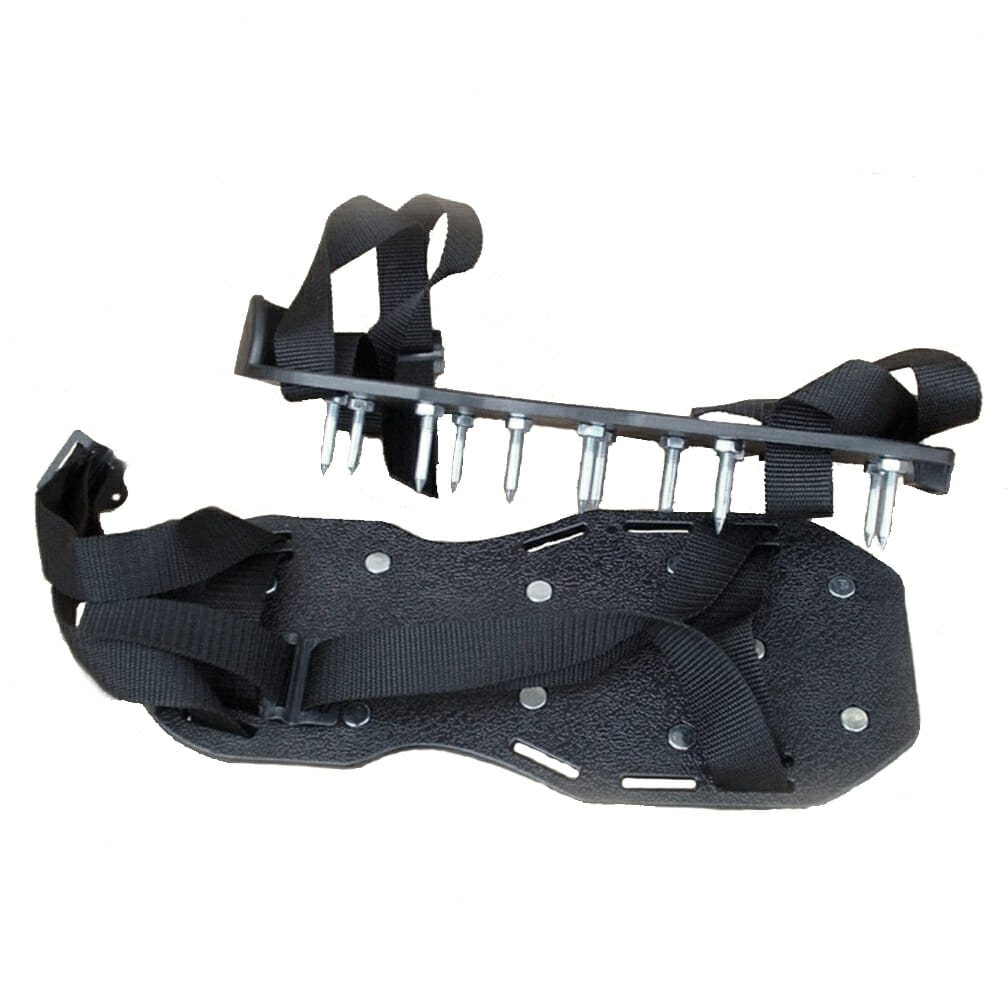
The paint is poured directly onto the floor and a roller is used to spread the coating, rather than using a tray. When painting floors, rollers trays are unnecessary – they are time consuming and you may find that an epoxy paint starts to dry in the tray, creating flakes of dry paint which you then mix with the wet paint from the can. You only really need to use spiked shoes if you need to access areas by walking over the wet paint. On such large area, we would recommend rolling the paint onto the floor in approx. 3x3m sections – roller in one direction and then re-roller having rotated your position by 180 degrees (this will help to alleviate roller marks).
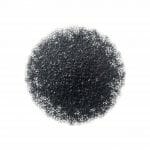
This customer then sprinkled a glitter over the wet paint, (please note – we did not provide the glitter). If using a glitter, do not mix it into the paint as it will just turn into lumpy paint (the glitter will just get covered in the paint), rather sprinkle it over the top.
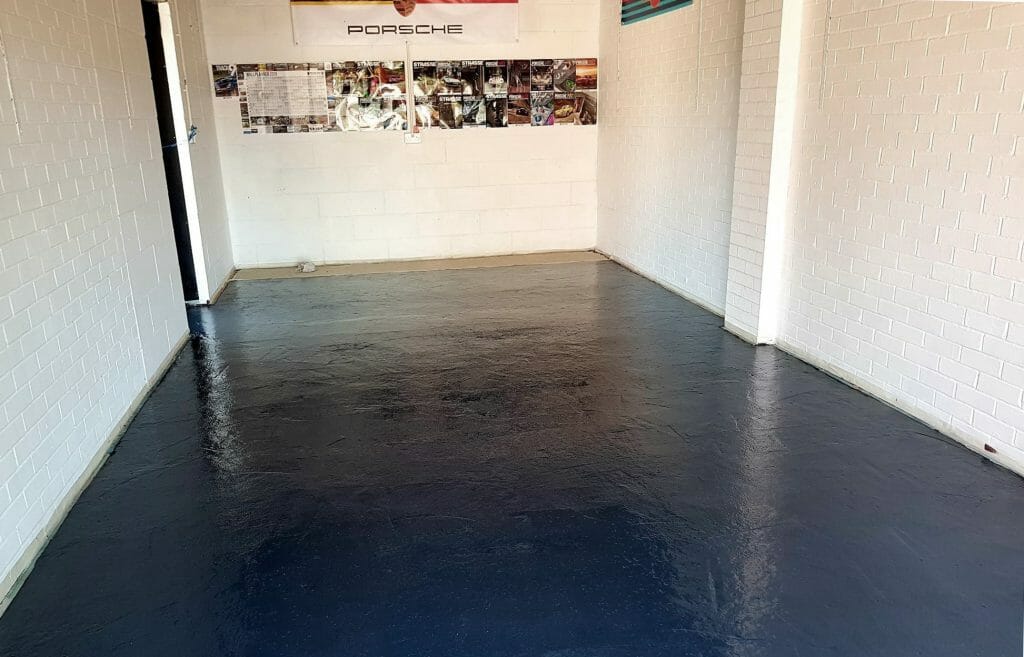
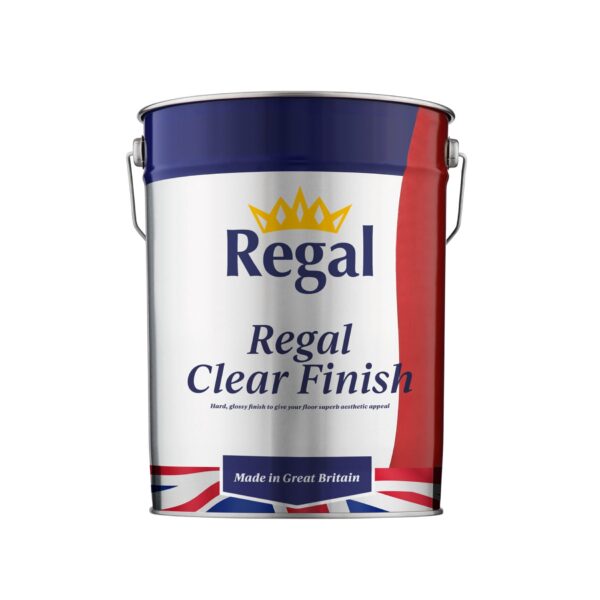
Step 4: Products used: Regal Clear Finish
How to paint garage floor – Step 4: After sprinkling on the glitter, the customer used Regal Clear Finish – this is a 2 pack acrylic clear coating which gives a nice, glossy finish. 2 pack acrylic is non-yellowing.

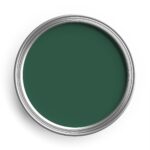 Brunswick Green Metal Paints
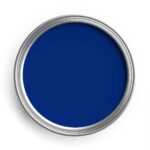 Ford Tractor Blue Metal Paints
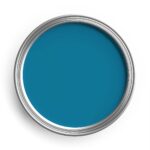 Cornflower Blue Metal Paints
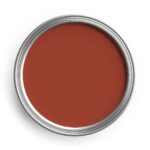 Red Oxide Metal Paints
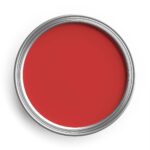 Post Office Red Metal Paints
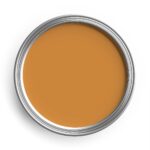 Caterpillar Yellow Metal Paints
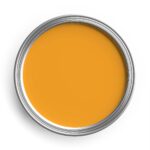 JCB Yellow Metal Paints
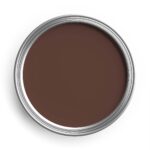 Chocolate Brown Metal Paints
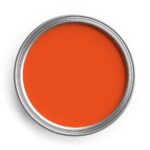 Orange Metal Paints
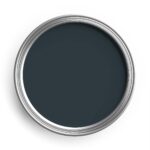 Slate Grey Metal Paints
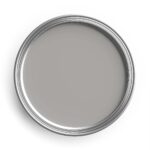 Light Grey Metal Paints
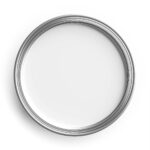 White Metal Paints
 Black Metal Paints



 Barn Paint






 Mezzanine Floor Paint


 Scaffolding Paint


