


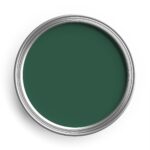
 Brunswick Green Metal Paints
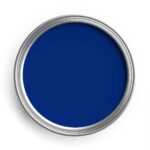 Ford Tractor Blue Metal Paints
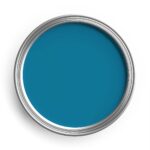 Cornflower Blue Metal Paints
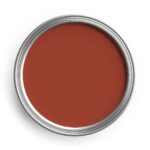 Red Oxide Metal Paints
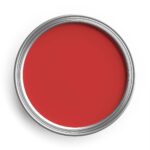 Post Office Red Metal Paints
 Caterpillar Yellow Metal Paints
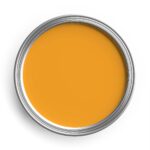 JCB Yellow Metal Paints
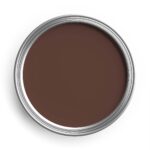 Chocolate Brown Metal Paints
 Orange Metal Paints
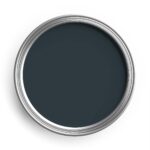 Slate Grey Metal Paints
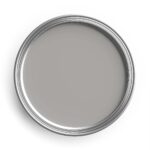 Light Grey Metal Paints
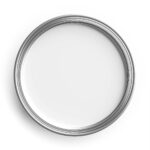 White Metal Paints
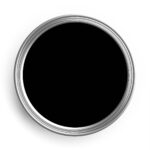 Black Metal Paints


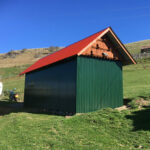 Barn Paint


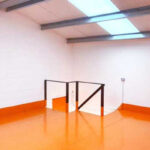 Mezzanine Floor Paint


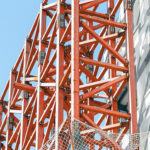 Scaffolding Paint


“Hi Matt, I just wanted to say thank you for your help with selecting the correct epoxy paints for my garage floor. My wife and I did the 3 stages and it looks great.”


Clean and Degrease
A heavy duty, low odour degreasing detergent. Specially formulated for the removal of grease, oils, fats and stubborn deposits from floors, walls, machinery, paintwork and other hard surfaces. Ideal for preparing your floor ready for a first coat. Used by floor contractors to clean concrete prior to painting. Suitable for the engineering industry, food handling sector, offices, shops, hotels and many other areas where regular cleaning is required. A biodegradable, low caustic, low odour, non-solvent cleaner. It can also be used as an ongoing maintenance product to remove foot and tyre marks from painted floors.


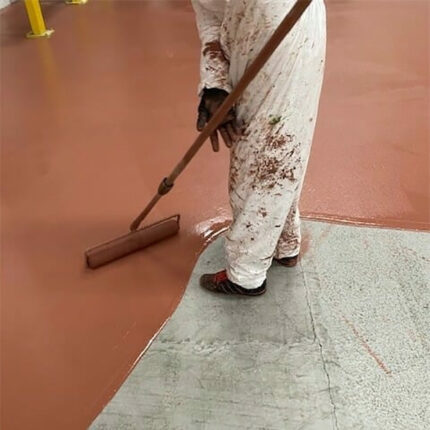
Two-Pack Epoxy Floor Sealer (First Coat)
Two-Pack Epoxy Floor Sealer (Under Coat) - This epoxy floor paint (first coat) is designed to prepare the surface of concrete, cement and non ferrous metals. This gives an ideal base for epoxy topcoat or acts as a seal coat for bare concrete floors. Resistant to water, solvents, acids, alkalis and salts. Tough finish, and has long lasting abrasion and impact resistance. Recommended for areas receiving heavy traffic (vehicle/trucks).
Following application of the product:
Do not park vehicles or place heavy equipment on the floor for a minimum of 48 hours
Do not get the floor wet for a minimum of 7 days as this will cause bloom (discolouration)
- Coverage: 5-7 m² per litre
- Touch Drying Time: 12-16 hrs
- Recoat: 24 hrs
- Hard Drying Time: 48 hrs
- Full Cure: 7 days
Select options
This product has multiple variants. The options may be chosen on the product page


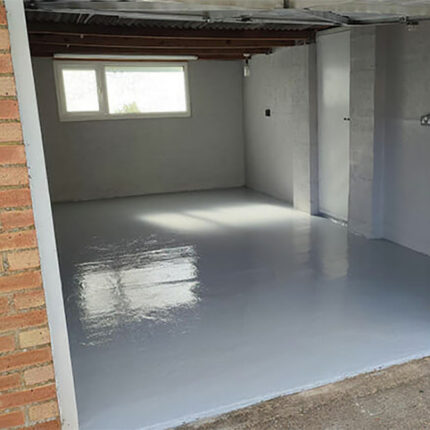
Two Pack Epoxy Floor Paint (Top Coat)
Two Pack Epoxy Floor Paint (Top Coat) - This epoxy floor coating is designed for application to concrete, cement and non ferrous metals. It provides excellent resistance to water, solvents, acids, alkalis and salts and gives superb adhesion to all recommended substrates. Tough finish has long lasting abrasion and impact resistance. Recommended for areas receiving heavy traffic (vehicle/trucks).
Following application of the product:
Do not park vehicles or place heavy equipment on the floor for a minimum of 48 hours
Do not get the floor wet for a minimum of 7 days as this will cause bloom (discolouration)
- Coverage: 5-7 m² per litre
- Touch Drying Time: 12-16 hrs
- Recoat: 24 hrs
- Hard Drying Time:48 hrs
- Full Cure: 7 days
Select options
This product has multiple variants. The options may be chosen on the product page

Paint Mixer Drill Attachment


Regal Clear Finish
Regal Clear Finish is ideal as a finishing coat over our epoxy or single pack floor paints to enhance gloss levels. A 2-pack acrylic which is fast drying and has excellent hardness. To be applied very thinly.
Select options
This product has multiple variants. The options may be chosen on the product page