

 Epoxy Primer
 Anticorrosive High Build Phosphate Quick Dry Primer
 Red Oxide Primer and Paint
 Agriculture Oxide (Barn Paint)
 Aluminium Quick Dry Enamel
 Decorative Gloss
 One Coat Steel Enamel
 Quick Drying Gloss Enamel
 Skip Paint / Container Paint
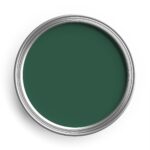 Brunswick Green Metal Paints
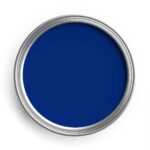 Ford Tractor Blue Metal Paints
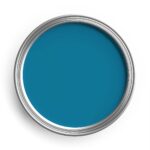 Cornflower Blue Metal Paints
 Red Oxide Metal Paints
 Post Office Red Metal Paints
 Caterpillar Yellow Metal Paints
 JCB Yellow Metal Paints
 Chocolate Brown Metal Paints
 Bright Orange Metal Paints
 Slate Grey Metal Paints
 Light Grey Metal Paints
 White Metal Paints
 Black Metal Paints


 Disposable Paint Brushes
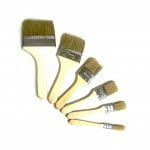
 Standard Paint Brushes
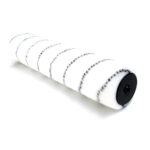 Floor Roller Sleeves
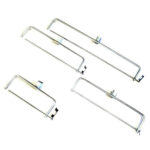 Floor Roller Frames
 Spiked Overshoes
 Mixer Paddles
 Anti-Slip Additives
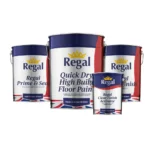

 Basement Floor Paint
 Barn Paint
 Catteries Paint
 Car Park Paint
 Commercial Kitchen Paint
 Concrete Floor Paint
 Corridor Paint
 Corrugated Iron Paint
 Dog Kennel Floor Paint
 Gallery Floor Paint
 Garage Floor Paint
 Heavy Traffic Area Paint
 Hospitals Paint
 Laundry Room Paint
 Line Marking Paint
 Machinery Paint
 Mezzanine Floor Paint
 Museums Paint
 Oil Rigs Paint
 Parlour Paint
 Plywood Paint / MDF Paint
 Restaurant Paint
 Shop Floor Paint
 Shipping Containers Paint
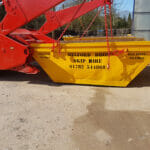 Skip Paint / Container Paint
 Stable Paint
 Stadium Floor Paint
 Steel Bridge Paint
 Storage Room Paint
 Studio Floor Paint
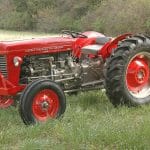 Tractors Paint
 Trailer Paint
 Warehouse Floor Paint
 Walkways Paint


[block id=”top-victorian-warehouse-floor”]
[gap height=”25px”]
[row]
[col span=”4″ span__sm=”12″ padding=”20px 20px 20px 20px” depth=”2″ depth_hover=”2″]
[gap]
[ux_image id=”3146″ image_size=”medium” height=”75%”]
[row_inner]
[col_inner span__sm=”12″]
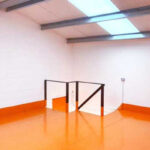
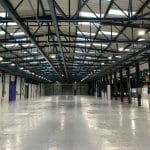
Client: Warehouse Owner (Confidentiality agreed)
Size of Floor Area: 3800 m²
[/col_inner]
[/row_inner]
[/col]
[col span=”8″ span__sm=”12″ padding=”20px 20px 20px 20px” bg_color=”rgb(0,0,0)” depth=”2″ depth_hover=”2″]
[ux_image id=”3157″ height=”56.25%”]
[/col]
[/row]
[row]
[col span__sm=”12″ padding=”20px 20px 20px 20px” bg_color=”rgb(215, 215, 215)” depth=”2″ depth_hover=”2″]
[row_inner]
[col_inner span__sm=”12″]
[title style=”bold” text=”Warehouse floor paint – Step 1: Floor after basic preparation”]
[/col_inner]
[col_inner span=”4″ span__sm=”12″]
[ux_image id=”3153″ image_size=”medium” height=”100%”]
[/col_inner]
[col_inner span=”8″ span__sm=”12″]
Product Suggested: Regal Clean ‘N Etch
After suitably preparing the floor – Regal recommends Clean N Etch to make concrete more porous (especially new concrete) so that the paint has a surface to stick to.
[/col_inner]
[/row_inner]
[row_inner]
[col_inner span__sm=”12″]
[title style=”bold” text=”Warehouse floor paint – Step 2: Floor painted with 2 pack epoxy primer”]
[/col_inner]
[col_inner span=”8″ span__sm=”12″]
[ux_image id=”3154″ image_size=”medium” height=”56.25%”]
[ux_image id=”3155″ image_size=”medium” height=”56.25%”]
[/col_inner]
[col_inner span=”4″ span__sm=”12″]
Two-Pack Epoxy Metal Primer (First Coat)
Product Chosen: Two pack epoxy primer
This is usually a red or pinky colour to contrast with the topcoat. Epoxy primer is thinner in viscosity to the topcoat, so that it is able to soak down into the concrete, penetrate the concrete. The base coat is anchored in the concrete, not just sitting on the surface. Epoxy primer dries with aa flat (matt) and porous finish – if you could at a cross-section of the dried primer under a microscope, it would look like peaks and trough. This is purposefully designed so that the dried surface-area will readily accept a topcoat, to lock into those peaks and troughs, giving good intercoat adhesion.
[/col_inner]
[/row_inner]
[row_inner]
[col_inner span__sm=”12″]
[title style=”bold” text=”Warehouse floor paint – Step 3: Preparing the Epoxy Topcoat”]
[/col_inner]
[col_inner span=”4″ span__sm=”12″]
[ux_image id=”3174″ image_size=”medium” height=”56.25%”]
[ux_image id=”3175″ height=”56.25%”]
[/col_inner]
[col_inner span=”8″ span__sm=”12″]

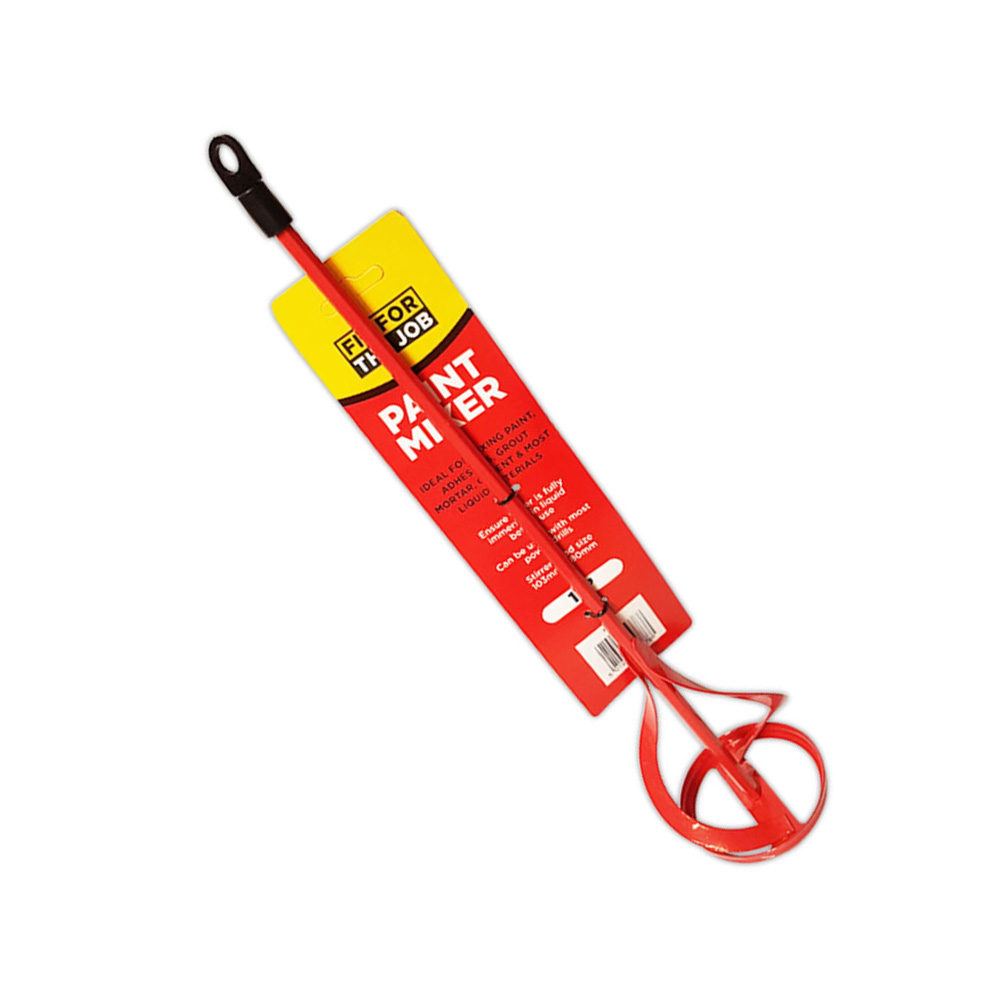
Paint Mixer Drill Attachment

Two Pack Epoxy Floor Paint (Top Coat)
Product Chosen: Two pack Epoxy Floor Paint (Top Coat), Paint Mixer
You need to use epoxy top coat with an epoxy primer because they are both made on the same resin system (the coats cross-link well, giving good intercoat adhesion). An epoxy topcoat floor paint is an extremely hard-wearing product, suitable for heavy industrial use (eg where stacker trucks are in use). It is important to mix carefully with a suitable paint mixer and to allow the epoxy paint to have the recommended induction period (sweating time) after mixing and prior to use.
[/col_inner]
[/row_inner]
[row_inner]
[col_inner span__sm=”12″]
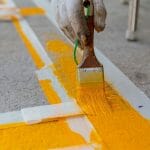
[title style=”bold” text=”Warehouse floor paint – Step 4: Rolling on of paint”]
[/col_inner]
[col_inner span=”4″ span__sm=”12″]
[ux_image id=”3176″ image_size=”medium” height=”100%”]
[/col_inner]
[col_inner span=”8″ span__sm=”12″]
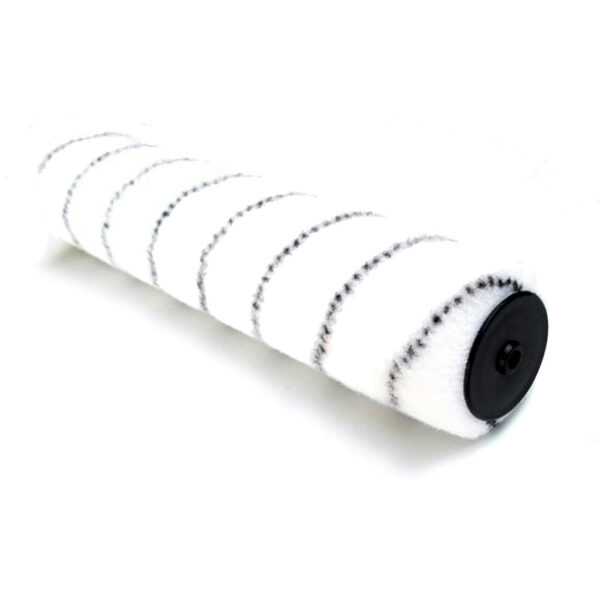
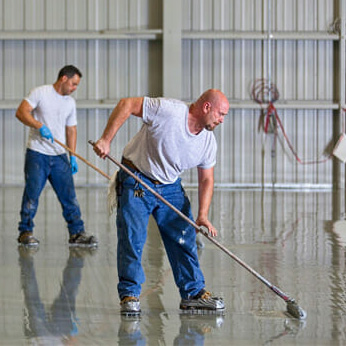
Nylon Bonded Roller Refills
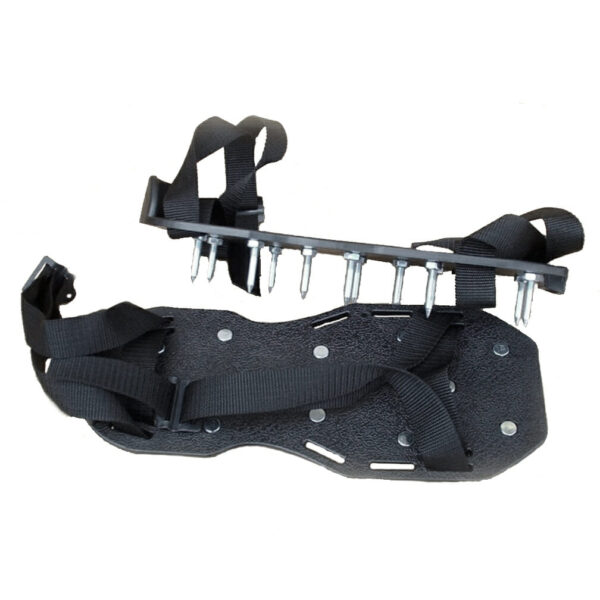
Spiked Shoes 30mm Spikes
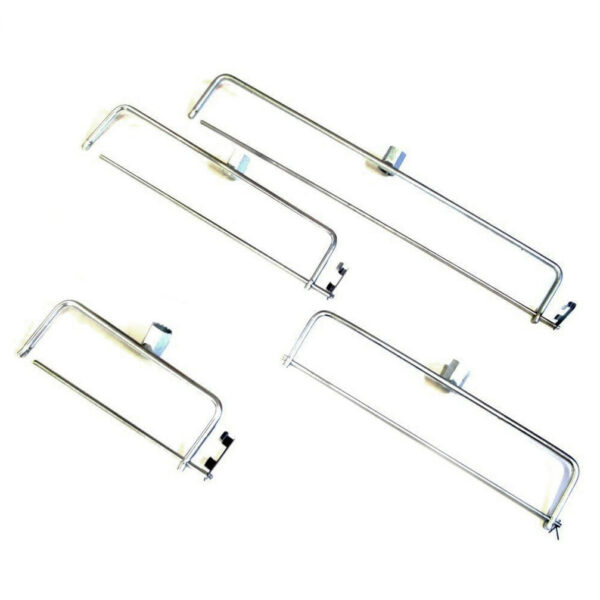
Steel Roller Frames
Products used: Spiked shoes, paint roller refills and steel roller frames
The paint is poured directly onto the floor and a roller is used to spread the coating, rather than using a tray. When painting floors, rollers trays are unnecessary – they are time consuming and you may find it starts to dry in the tray, creating flakes of dry paint which you then mix with the wet paint from the can. You only really need to use spiked shoes if you need to access areas by walking over the wet paint. On such large area, we would recommend rolling the paint onto the floor in approx. 3x3m sections – roller in one direction and then re-roller having rotated your position by 180degrees (this will help to alleviate roller marks).
[/col_inner]
[/row_inner]
[row_inner]
[col_inner span__sm=”12″]
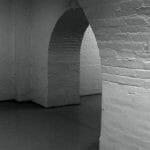
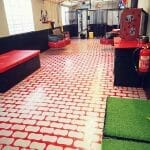
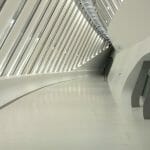
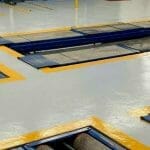
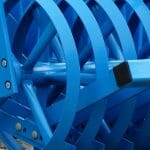
[title style=”bold” text=”Warehouse floor paint – Step 5: The finished job – drying and close up”]
[/col_inner]
[col_inner span=”4″ span__sm=”12″ align=”left”]
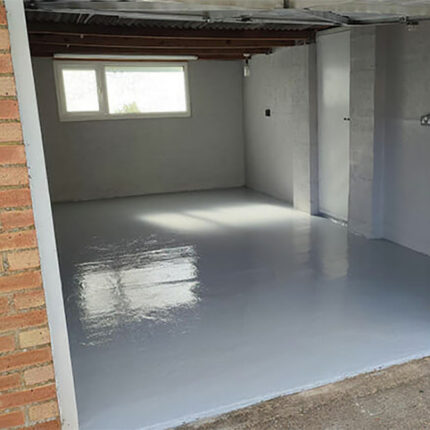
[ux_image_box img=”3169″ image_height=”75%” text_align=”left”]
Due to the age of the building, the floor had undulations. Therefore, 2 coats of the topcoat were used. The completed job – paint is still wet in parts.
[/ux_image_box]
[/col_inner]
[col_inner span=”4″ span__sm=”12″ align=”left”]
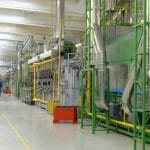
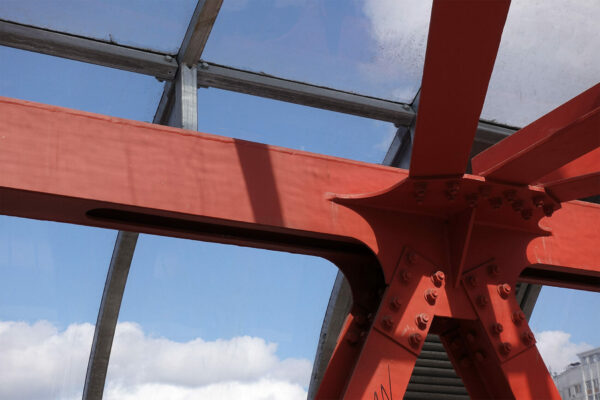
[ux_image_box img=”3157″ image_height=”75%” text_align=”left”]
Completed job. The quickdry enamel (ford tractor blue) can be seen on the metalwork. Masonry on the walls.
[/ux_image_box]
[/col_inner]
[col_inner span=”4″ span__sm=”12″ align=”left”]
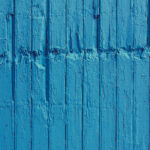
[ux_image_box img=”3146″ image_height=”75%” text_align=”left”]
Close-up of the floor.
[/ux_image_box]
[/col_inner]
[/row_inner]
[/col]
[/row]